
I have been pretty crafty lately...
I finally feel creative again...
Like the giant crushing weight of my old job is no longer crushing my will to live...
(now I just need to find a new job)... (but I'm happy again, and I don't think I have been for a long time now)
My grandma.... (my Dad's mom) is an amazing gardener, and we both love Lilies. So when her sister died a few weeks ago, rather than buy her some cut flowers that would die after a couple weeks, I bought her some Lily bulbs for her garden. Last time I visited her, she gave me a Stargazer bulb, so I tried to find some of those for her but they were all sold out. I bought "Royal Sunset" and kept a few of the bulbs for myself too... I can't wait to see them.
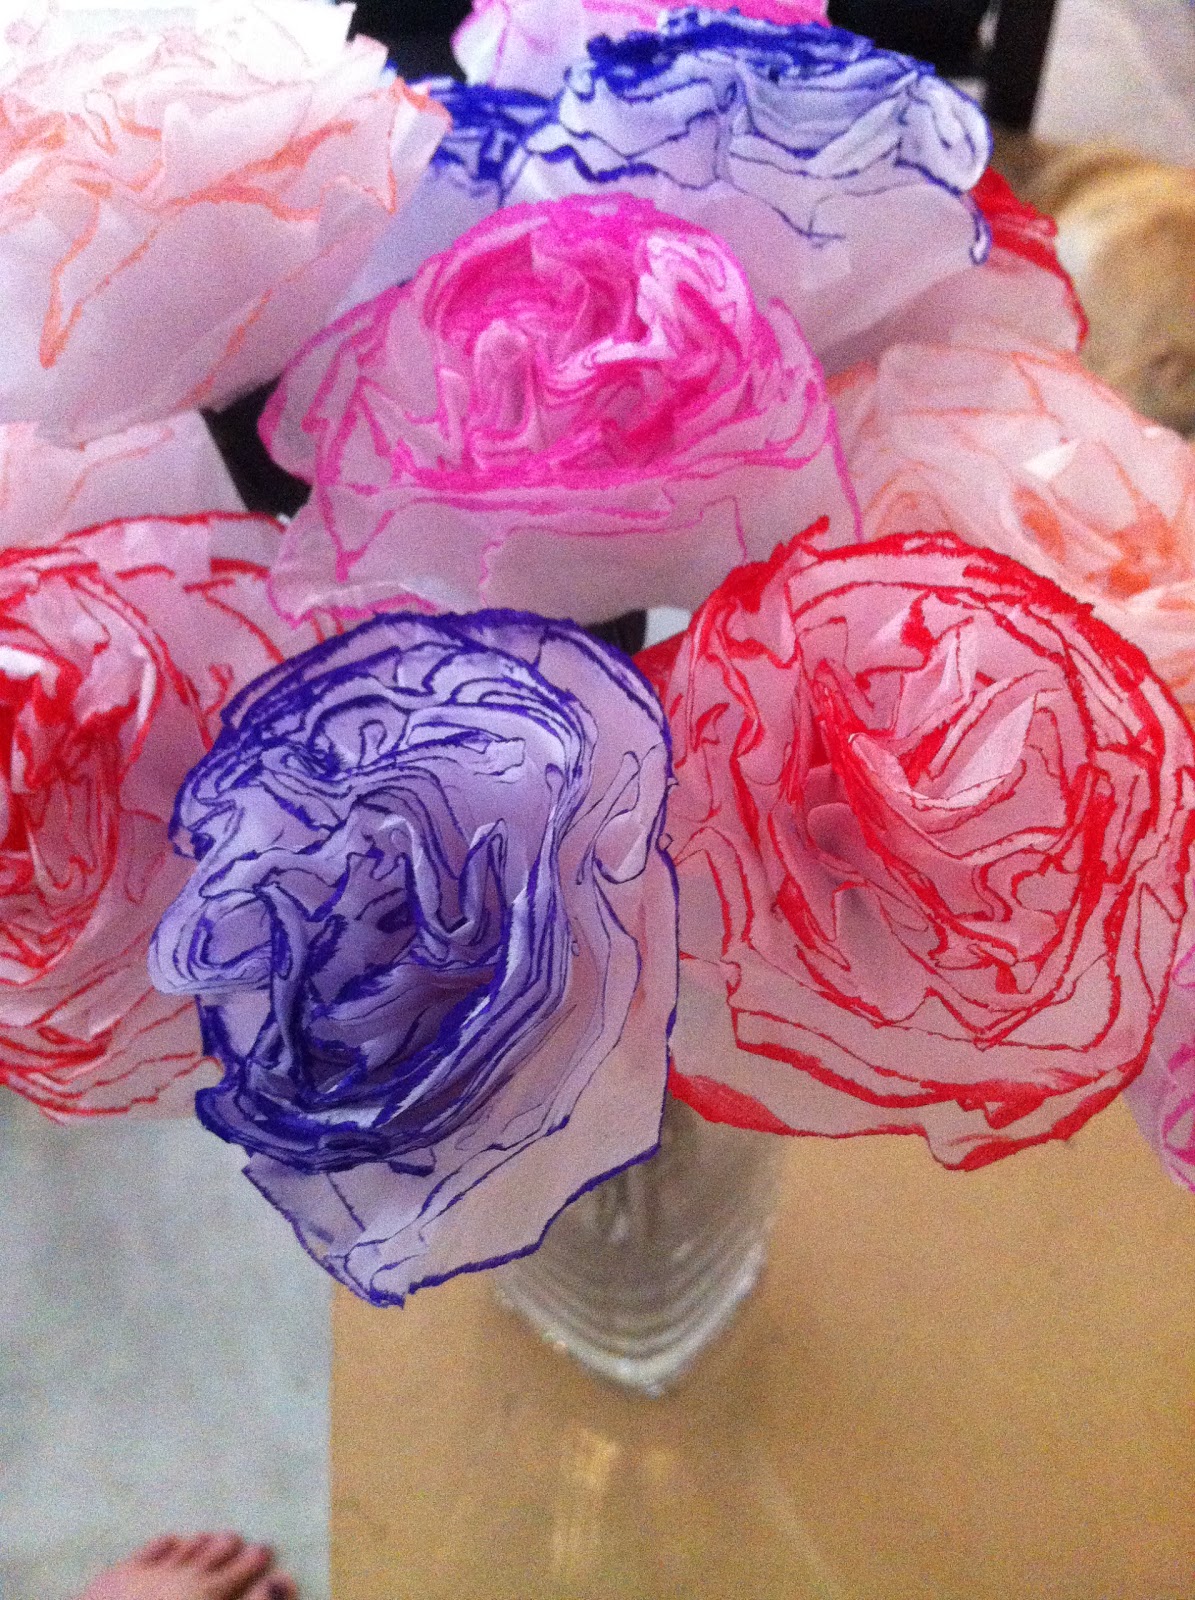
ANYWAY... I made some paper Lilies, but they didn't look great, so I ended up making my grandma a bouquet of Paper carnations (her favourite cut flower)

They were super easy!!!
Buy some tissue paper (It is like $1 for a package at walmart or the dollarstore)
Cut out into MANY circles (you want about 10-12 tissue paper circles per flower)
Colour the edges of the circles with a contrasting marker. I used the awesome smelly markers - Mr. Sketch. My favourite was the purple ones... Also the best smelling too!

Get some floral wire (or other kind of wire will work too)
Poke the wire up through the bottom of your circles, and then down (thought another hole) and wrap the wire around itself.
Now you take the first paper and crumple it up, and continue with the layers until you have your carnation.
Wrap the stem with floral tape... making the top of the wire and bottom of the flower look more realistic (look at pictures of carnations... or real ones if you need inspiration)
And then make it into a bouquet to give to someone you love too
I had so much fun making these, that I made a second bouquet, just of the purple ones for my other grandma for mother's day. And I will make some for my own house just as soon as I go pick up more tissue paper.

No comments:
Post a Comment
Thank you for taking the time to comment!