Monday, April 30, 2012

Key Lime Pie

Back in February or March I was suffering from Spring Fever... I needed a taste of sun and less of a taste of this:
Snowstorm and wind-storm combined made the snow drift on my garage do this weird flippy thing... AND when I left for work in the morning, As I closed the door, I got COVERED in snow with the drift on my roof, just above the door collapsed on top of Ava and me... Not a great way to start the day

So I picked up Key Limes and started juicing them for Key Lime Pie.. And the sun came out (in my house) and we all cheered up a bit
Except Wilson and Ava... we didn't share with them.

Probably the hardest part of this recipe is juicing the tiny Key Limes. You need about a dozen of them, give or take.


I got the recipe from Cook. Eat. Love  and it is amazing... although I skipped the whipped topping and the homemade crust..   I have made this three times in the last few months, because it is that easy and that delicious that you can make it again and again....

Key Lime Pie (filling)

4 egg Yolks
2/3 cup Fresh Squeezed Key Lime Juice
1 can of sweetened condensed milk
zest from 2 KEY limes (finely grated)

Whip the yolks with the lime zest in a stand mixer until they are nice and fluffy (about 6 minutes)
Slowly and gradually add the can of condensed milk and beat until thick (about 5 minutes)
Turn the mixer speed to the lowest setting (I used "stir" on my Kitchenaid), slowly add the lime juice, and mix until everything comes together nicely. (A few seconds on a faster speed just at the end to make sure everything is together)
Pour into a prepared graham cracker crust. (This recipe JUST fits into a store bought crust... just be careful moving it around)
Bake about 15-20 minutes, or until the filling has just set...(It won't be wobbly any more)
Cook on a wire rack until room temperature, and then refrigerate at least 20 minutes before serving. It should be cold when you serve it, not warm.


Before Baking


After Baking


 So Start juicing your limes... They are almost out of season (but don't listen to me about seasons... I just roasted some Butternut squash!)


Saturday, April 28, 2012

Chocolate Beet Cake

So I have been meaning to post about this cake for a very very long time...

Long enough that I have made it twice.. (It's just that good)


Joy the Baker's Chocolate Beet Cake!

The day after she posted it to her website, I went and bought beets so I could make it.

I Love beets by the way. They are so earthy. And interesting. I looked them up on Wikipedia. Did you know that Napoleon opened schools JUST to study the plant (and how to extract sugar from it). And that by 1840, five percent of the sugar in the world was from sugar beets. Crazy. Here is the Beet link on Wikipedia. Its kinda cool.

I didn't change anything, so I'm sending you to Joy for the recipe, and her beautiful pictures and wonderful instructions. One tip... Use gloves when you grate the roasted beets... Then you don't have to worry about staining your hands. We have a box of them. They boyfriend uses them when he is working on his car, and I took a bunch, fresh out of the box, for baking or cleaning, or whatever... Definitely worth it, because you can just roll them inside out when you are all done, and throw them away.

When Joy was writing about making the icing, and said "Nature's sprinkles" I thought it was so witty and funny... Then I used the same term to the boyfriend, when he asked what those strands in the icing were... Apparently, "Natures Sprinkles" to him, is like Deer or Elk poop

But please forget that I just wrote poop on a post about cake... Because it is an amazing Cake, and so so so sooooooo worth making! See my sliced cake pictures... Those could've had clean lines and been nice and pretty but I just wanted to eat the cake, so I cut it as soon as I frosted it (and it was 10 at night and dark outside)


One last thing... The best part about making this cake, was getting to use all my new kitchen toys that I had got for Christmas... the stacking cooling racks are AWESOME in a kitchen with minimal counter space! and isn't my new spatula (that I iced the cake with) awesome? I am in love with it.

Monday, April 23, 2012

Homemade Sprinkles!

Did you know you can make your very own sprinkles?

Because I didn't.

And If it wasn't for Pintrest, I still wouldn't know.

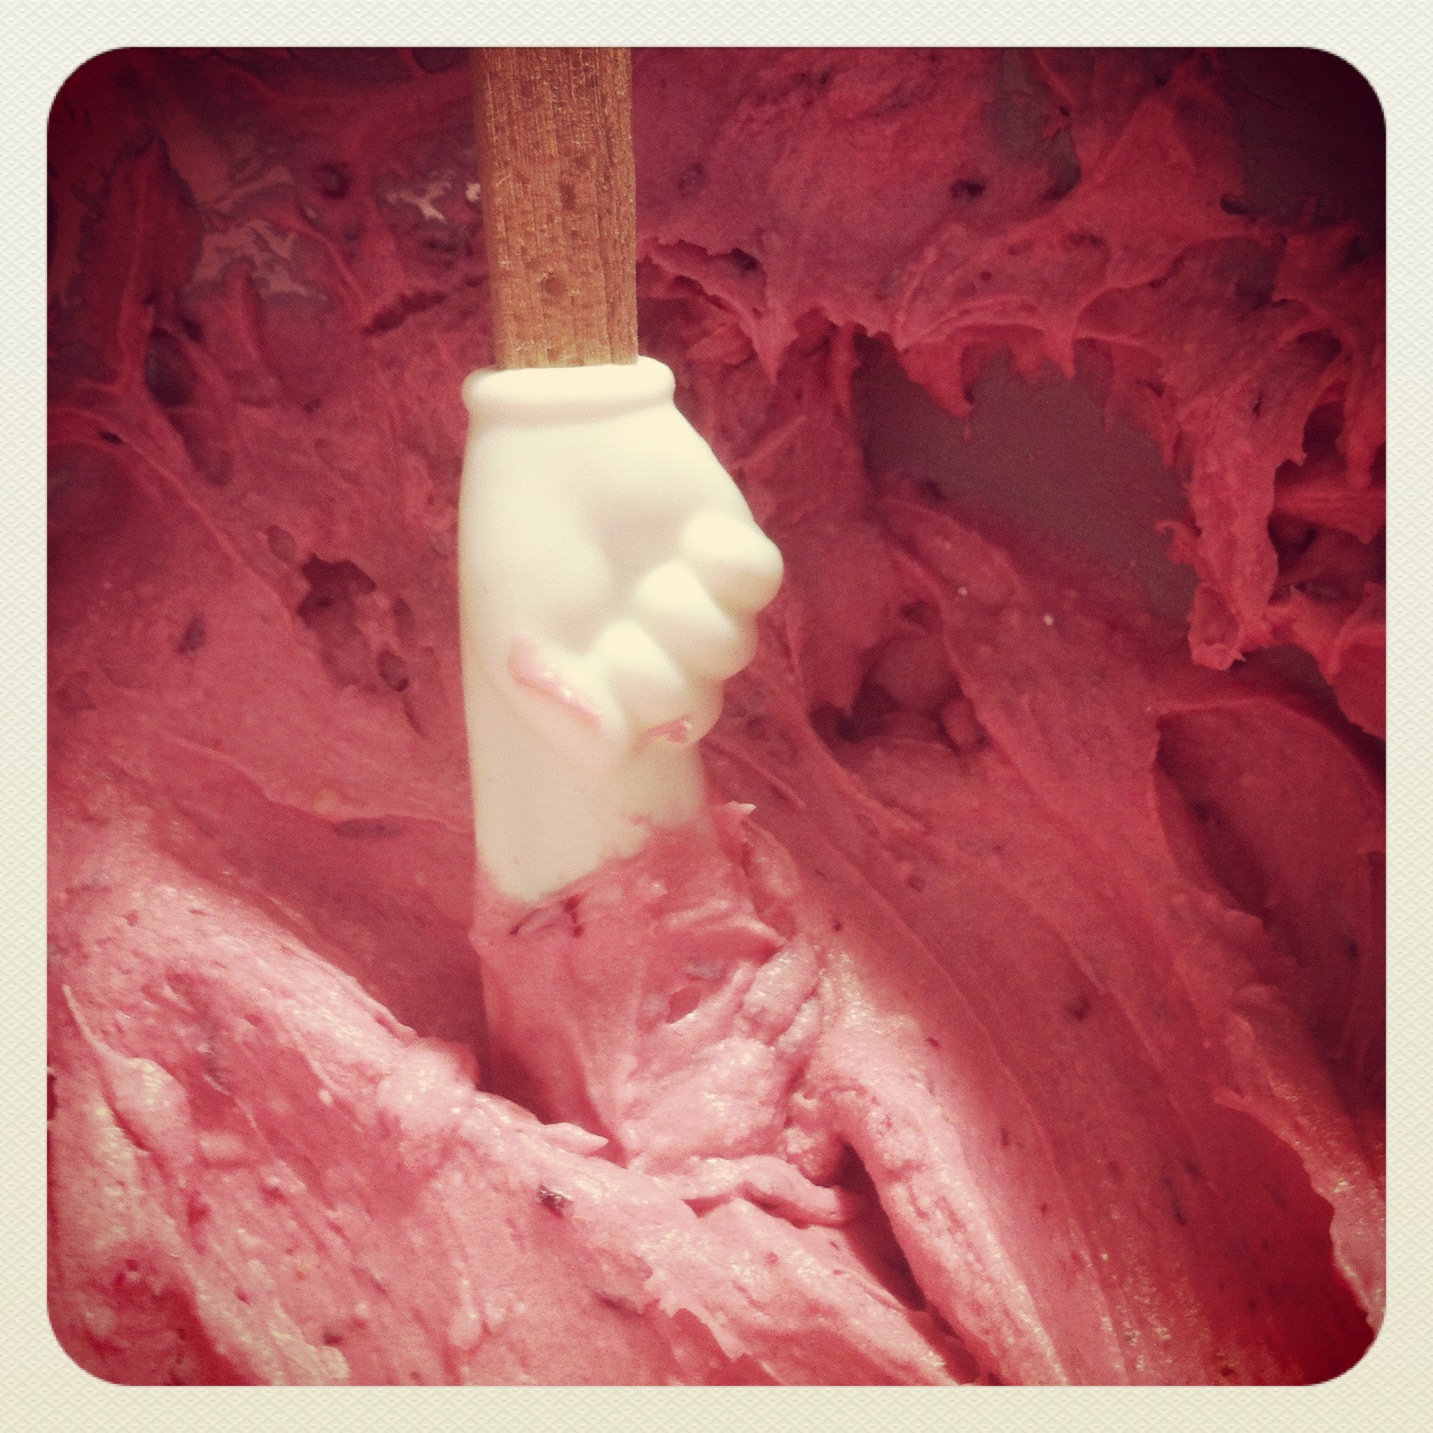
Coincidently, I now have a huge cramp in my right hand from pipping hundreds of tiny homemade sprinkles onto parchment paper.

I plan on using these puppies on my birthday cake. I don't know what kind of cake I am going to make yet, but It will have blue, green and pink homemade sprinkles on it. 

Coincidently, my birthday is tomorrow (which is weird to say, since I am typing this two days ago... which is even weirder to say, since It is now right now... and not two days ago, but when you read this, it will be two days ago... OK, I'm giving myself a head ache...Coincidently, I think that pipping hundreds of tiny little dots will do that to you)

I ever-so-slightly modified the recipe that is from I am Baker... Mostly it is modified because I added too much milk, then not enough vanilla, then it got too thick, and then it got too thin, so pretty much the exact same recipe, with a few modifications. This is more "sugar art" than "baking" so less science, more of a feel for what your final product will turn out to be.

So, before I get too into this, HERE is the link for i am baker's Homemade Sprinkles. I am loving her blog right now! I read it along with Pioneer Woman, Joy the Baker, and Shutterbean.

So you need:
1 cup icing sugar
1-3 tablespoons of Milk
1 table spoon of light corn syrup
Flavour
Color


put your icing sugar in a bowl, add in 1 table spoon of milk and the corn syrup. Now add in your flavouring.  This is where you need to play around. I added another half table spoon of milk and this was way too much, so I needed to add more sugar, and then more flavour.  you want your sugar mix to to be thick enough that is is going to hold its shape, but liquid enough that you will be able to pipe it through a #3 tip without clogging. Mine was a little bit thick, but I left it that way while I divided the sugar into three bowls to make three different colour sprinkles. I added my colour in, and made them bright vibrant colours of blue, green and pink. Gel food colouring is best, but if you end up using the liquid stuff, then it is going to throw off the consistency of the mixture, so you might have to add some more sugar to compensate for the extra liquid.
Once you get everything to where you want it, put it into pipping bags with a #3 tip and start pipping the little dots onto parchment paper.
*note.. my mix was a little dry after the color, so I added a small dollop of corn syrup instead of milk to help the liquid content without making it too wet again.

just pipe little dots until your hand goes numb! and Voila'  homemade sprinkles!!


I even cleaned up after myself right away! (weird)


I Can't wait to use them!!!!!  Don't the green ones look like peas? I made the pink a little too florescent, but I still love them and the blue... I think they are my most favourite of all.

Saturday, April 21, 2012

Marshmallows - a bucket list item! (part 1)

Ever since I found out that you could make Marshmallows at home, from scratch, I have always wanted to try and make them myself. But they always seemed daunting with the whole candy thermometer and paying attention thing. But I have finally tackled this item on my baking bucket list! (see the link in the top right corner  of the menu... or right here! to my bucket list)

I searched for them on pintrest, google, food gawker and taste spotting. and I read tons of recipes (but mostly I just looked at the pictures). After getting all marshmallow inspired, I decided to go to The Joy of Baking and use her recipe after watching her video on how to make them... It seemed more helpful in tackling this huge marshmallow mountain I had built up in my head. So I watched her video last night, and then this morning, I bloomed the gelatin, boiled the sugar to soft ball stage and whipped the mother loving crap out of the two until It because a very very sticky cloud of marshmallow fluff.

Since I will not claim to be any kind of marshmallow expert, I am going to send you to watch Stephanie's videos and get all kinds of inspired for your marshmallow endeavours. Homemade Marshmallows at Joy of Baking.com

Now the only problem is waiting to test them out... I'm only 5 hours into the waiting process... But if the taste of the dreamy marshmallow fluff that was stuck all over my fingers while making this is any indication... I may need a marshmallow intervention...  I promise to add the finished marshmallow pictures as soon as they are done curing. (is that what marshmallow's do?)


Pour into your prepared pan... Play around with editing tools in Picasa...

take a picture of the recipe and your mini blue spatula that your mom got you for Christmas too.

OH... I didn't take pictures of this step, because I was busy starting my next little project, but Once you have your fluff in the pan, and relatively level in there... dust the top with sugar (just like when you dusted the bottom of the pan).


Okay, I am having some fun and getting back into the blogging grove.  Here is the link to the recipe again: Homemade Marshmallows at JoyofBaking.com   Definitely watch the video if you are a homemade marshmallow virgin like I was... It helps.


Friday, April 6, 2012

Bird Nest Cookies

Hey there

No, I didn't fall off the face of the earth. I've been here... Just not writing here... I have been neglectful of this poor little blog of mine, But it was for a good cause
So I could stop being neglectful of this little life of mine.
Sort of re-focus on what I want to do, be, say, whatever... I took a blog vacation.
But I have been baking, and cooking, and taking pictures of everything. I am back... sort of.  The blog is going to take a bit of a back seat while I figure this whole life thing out (not that anything dramatic happened, I just feel the need to re-evaluate and re group and get organized and centred again)
I will be here to write when I feel the need to, and to share lots of my newly tried recipes here, but it wont be on any schedule for now.


BUT I am back now... with Bird Nest Cookies


No-Bake Bird Nest Cookies

I needed something Easter-like in my life... and I had a craving for the "Chinese noodle cookies" that i used to make with my mom when I was about 4... AND I saw them on Pintrest....
But Here they are!

Bird Nest Cookies

3/4 cup Semi-Sweet Chocolate Chips
3/4 cup Butterscotch Chips
1 cup Peanut Butter (creamy is better, but I used Crunchy... because I couldn't find the peanut butter in the store, they are changing everything around, so the sugar is next to the gravy mixes right now, and the candy is in the produce section... AND it was packed in the store with everyone scrambling for Easter dinner supplies, so I gave up and used the crunchy peanut butter that we already had at home)
6 oz. (the small sized bag) of Chow mien Noodles
Cadbury Mini-Eggs
Note: You can add in other things too. I added a little coconut to the mix, because I love coconut.

Grease muffin tin very well with butter (to make them easier to release out of the muffin tin to enjoy)


Melt the chocolate and butterscotch chips in a double boiler (ie: a stainless steel bowl over simmering water)

Then add in the Peanut Butter and stir until everything is a big melty mess

Add in the noodles (an the coconut like me) and stir carefully until everything is well coated

Place into your greased muffin tins, pressing the middle down a little to make the nest shape.

Add the eggs into the nest (I put 3 in each nest)

Place in the fridge until hard


Enjoy!