Showing posts with label bread. Show all posts

Tuesday, September 27, 2011

September 2011 Daring Baker Challenge = FRESH, FLUFFY, FRENCH


I was so thrilled when the challenge this month was Croissants, As they are on my baking bucket list (see for yourself). So I finally had an excuse to make them. Although, it would've been easier in a cold-weather spell.... Can't wait to try this again in the winter, now that I have done it once, I can learn from my mistakes. Not that there were many mistakes, They tasted AMAZING.

Thanks for the great Challenge Sarah!

Blog-checking lines: The Daring Bakers go retro this month! Thanks to one of our very talented non-blogging members, Sarah, the Daring Bakers were challenged to make Croissants using a recipe from the Queen of French Cooking, none other than Julia Child!


In the recipe notes, Sarah included a link to a Julia Child video on YouTube, which was VERY helpful, and pretty entertaining. I had just watched Julie and Julia a few days before I got this challenge also! Great Timing.


As Usual, I'm going to send you to the Daring Kitchen website to find the pdf file of this months challenge. Sarah included a ton of step by step photo's that were very helpful.


My Croissants didn't last long at all. We ended up eating half of them right after they were done baking, and then the rest for breakfast the next morning. I can't wait to make these again! Again, Thanks Sarah for giving me a reason to finally make Croissants!

Kitchen Heroes

Sunday, April 3, 2011

Coconut Bread


Until I found this recipe on Sweet Savory Planet, I had never heard of Coconut Oil... But I knew I had to try this bread, so I went on a search, a hunt... A quest is probably more accurate to be honest.
After checking at 3 different stores, I finally found it in the 3rd one. I really didn't want to have to go to a health food store, Because I have a really long list of things I want and not a lot of money for them, and not a lot of will power against my own will sometimes. Luckily Superstore had it in their health food/organic/save-the-earth section. I kind of had to dig to find it, but I found it...

It is weird stuff. Really hard... REALLY REALLY hard, and you have to melt it to use it, so it adds an extra step, But It adds a whole different level of flavor too. I did a little google-ing and found this site... If you want more info, just do some google-ing of your own... TONS of links pop up.

(in the picture below, you can see Wilson's head. He was catching some sun comming through the windows... and trying to get me to drop something on the floor that he could snatch up)


1 cup sweetened coconut (grated, shredded, flakes, whatever works for you, I used shredded)
2 cups All Purpose Flour (I took out about 2-3 TBSP of the flour and added in some Milled Flax seed)
1/2 cup white granulated sugar
1/4 cup brown sugar
1 TBSP baking Powder
1/4 cup Virgin Coconut Oil (melted, so it is liquid and not rock-solid)
1 cup unsweetened coconut milk
1 egg
1 tsp. Vanilla

Preheat Oven to 350 F
Prepare the loaf pan by greasing the pan and the flouring (pay close attention to the corners)
sprinkle a little coconut on the bottom of the loaf pan.
Mix the coconut, flour, sugars, and baking powder in one large bowl
In another bowl, add in the coconut oil, coconut milk, egg, and vanilla and mix together well.
Add the wet ingredients to the dry and mix until just blended.
Pour into the prepared loaf pan
Bake at 350 for about an hour until a toothpick inserted comes out clean.


Cool in the loaf pan for about 10 minutes, and then transfer to a wire rack to continue cooling.


You can toast the coconut also, But I prefer the un-toasted.

This bread is amazing with the Lemon-Lime Curd used as a spread on top... Laura at Sweet Savory Planet is a genius!!!!


I will definitely be trying the coconut oil in other baked goodies now... and Same with the coconut milk. Its a whole different layer of flavour, and I can't wait to use it in baking again. Every time I've used Coconut milk, it has been for something Savory, like Marinating shrimp skewers (BTW, I'll post some really yummy BBQ recipes in the summer, when there isn't 4 feet of snow on the ground)

Sunday, March 27, 2011

Homemade Country Chicken Soup AND Country White Bread


NOTE: Wrote this March 6th, But just getting around to posting it now... ooops


What the hell is up with Winter this year??? Like Seriously! Somebody should tell him that its March already, so we don't need -30 temperatures with Wind Chill warnings past the -40 mark... That is for Actual winter... not the long tail end of Canadian winter...
Today, the warmest it was outside (according to Environment Canada whenever i checked... I didn't actually go outside) was -17! Currently the Windchill is -30

Days (and by that, i mean Weeks... or Months), like this definitely call for Soup. And since I made a crap-load of Homemade Soup Stock (inspired by A Tale of One Foodies Culinary Adventures), and found super cheap Chickens (and then roasted them)... I made Soup today... And Bread... YUMMY

I have a confession to make... I am horrible at doing the dishes. I have a bunch of the ziploc containers so I can take my Lunch to work with me... Which is all well and good...
But then...
I have to remember to bring it back to my car to take home at the end of the day
I have to remember to bring it from my car to the house
I have to remember to rinse it out and stick it in the dishwasher
I have to remember to turn the dishwasher on

Because this seems to be difficult for me to do... I have a pretty good collection (err... almost all of the containers i own) stashed in my car.
This is why i won't be having soup for lunch at work tomorrow :(

Onto the Recipe, because that is much more inspiring that my horrible dish-keeping/cleaning confessions. (However, i would like to note, that I am much better about this in the summer than the winter.. In the winter, its too damn cold and nothing in there is going to rot, its just going to freeze.)

I FORGOT to take pictures of the soup.... But here is the chicken that made it into the soup... (and made the soup stock with)


Country Chicken Soup

Ok, yet again, I don't have exact measurements for you. Soup is kinda like that though.
Chicken meat (left over, or whatever works for you... as much or as little as you want/your soup pot will allow)
Carrots - sliced
Celery - sliced (larger than the carrot pieces)
Onion - chopped (whatever size you want)
Garlic - minced, or at least finely chopped
Olive oil
Chicken Soup Stock (make your own, its sooooo yummy!)
Water
Corn (I used a can of corn)
Spinach
Fresh Parsley
salt/pepper/seasoning

In your soup pot, heat up some Olive Oil. Once warm, add in the garlic, cook til fragrant, then add in the onion - stirring constantly. Add some soup stock (i used about 4-5 cups), Add carrots, and let come to a boil. (this gives the carrots a little head start in softening)
Fill pot with more Soup stock, water and celery
Let simmer for about 10 minutes. Taste then season a little... Simmer 10 minutes, taste and season.
Add in the corn, Chopped Spinach and fresh parsley, put lid on, and Simmer
Check your soup at least every hour... half hour is better
Taste and season as needed
The longer (and at a low temp) you cook it, the yummier it seems to be. My soup was on the stove at about 10am, and we ate at 6pm
Its not an exact science at all. The basic idea is to put a bunch of stuff you like in a pot with water and seasoning... Taste as you go is the trick. Its a good idea to put less salt than you might want in there, and let each person salt their own soup. This keeps sodium levels down. (My mom consistently adds a ton of salt to soup, and I'm trying to get her to cut it out)


Country White Bread
(www.cookingbread.com)

OH NO! I forgot to take pictures of it too! :( FAIL... But the Bread was Delicious.... Go make yourself a loaf of it (recipe makes 2 loafs, might be a good idea to half it, unless you eat a lot of bread, But we don't

So, Since I forgot to take pictures of the Soup AND the bread... here are some photos of my soup stock that I made after reading The post at A Tale of One Foodies Culinary Adventures...
Above = Before cooking
Below = a few hours in.... at that stage, my house smelled soooooooooooooooooooooooooo yummy!!!

March 2011, Daring Baker Challenge - Yeasted Coffee Cake with Meringe

Out of the 3 challenges I have done, this one has been the hardest... I don't know if I would make this again, But I'm glad I tried it. Although, after seeing what fillings the other bakers had tried, I might attempt again.
I also thought that a savory version would probably have worked better, But it has been a crazy month, so I never got to try and make the savory one I wanted to attempt. But onto the challenge:

Blog-checking lines: The March 2011 Daring Baker’s Challenge was hosted by Ria of Ria’s Collection and Jamie of Life’s a Feast. Ria and Jamie challenged The Daring Bakers to bake a yeasted Meringue Coffee Cake.

First of all... Here is the link to the Daring Kitchen, You should be able to find the Recipe there...

Second, I'm going to show you my photos with a little commentary. I think I would've liked this bread a lot more if this month hadn't been so crazy.... And If i had been a little more original and not just used Chocolate and Nuts like the recipe said. Ultimately the only way to know if you will like it, is to try and make it yourself. Its pretty fun, and If you check out the blog roll of what other Bakers made, You will be much MUCH more impressed than with mine...

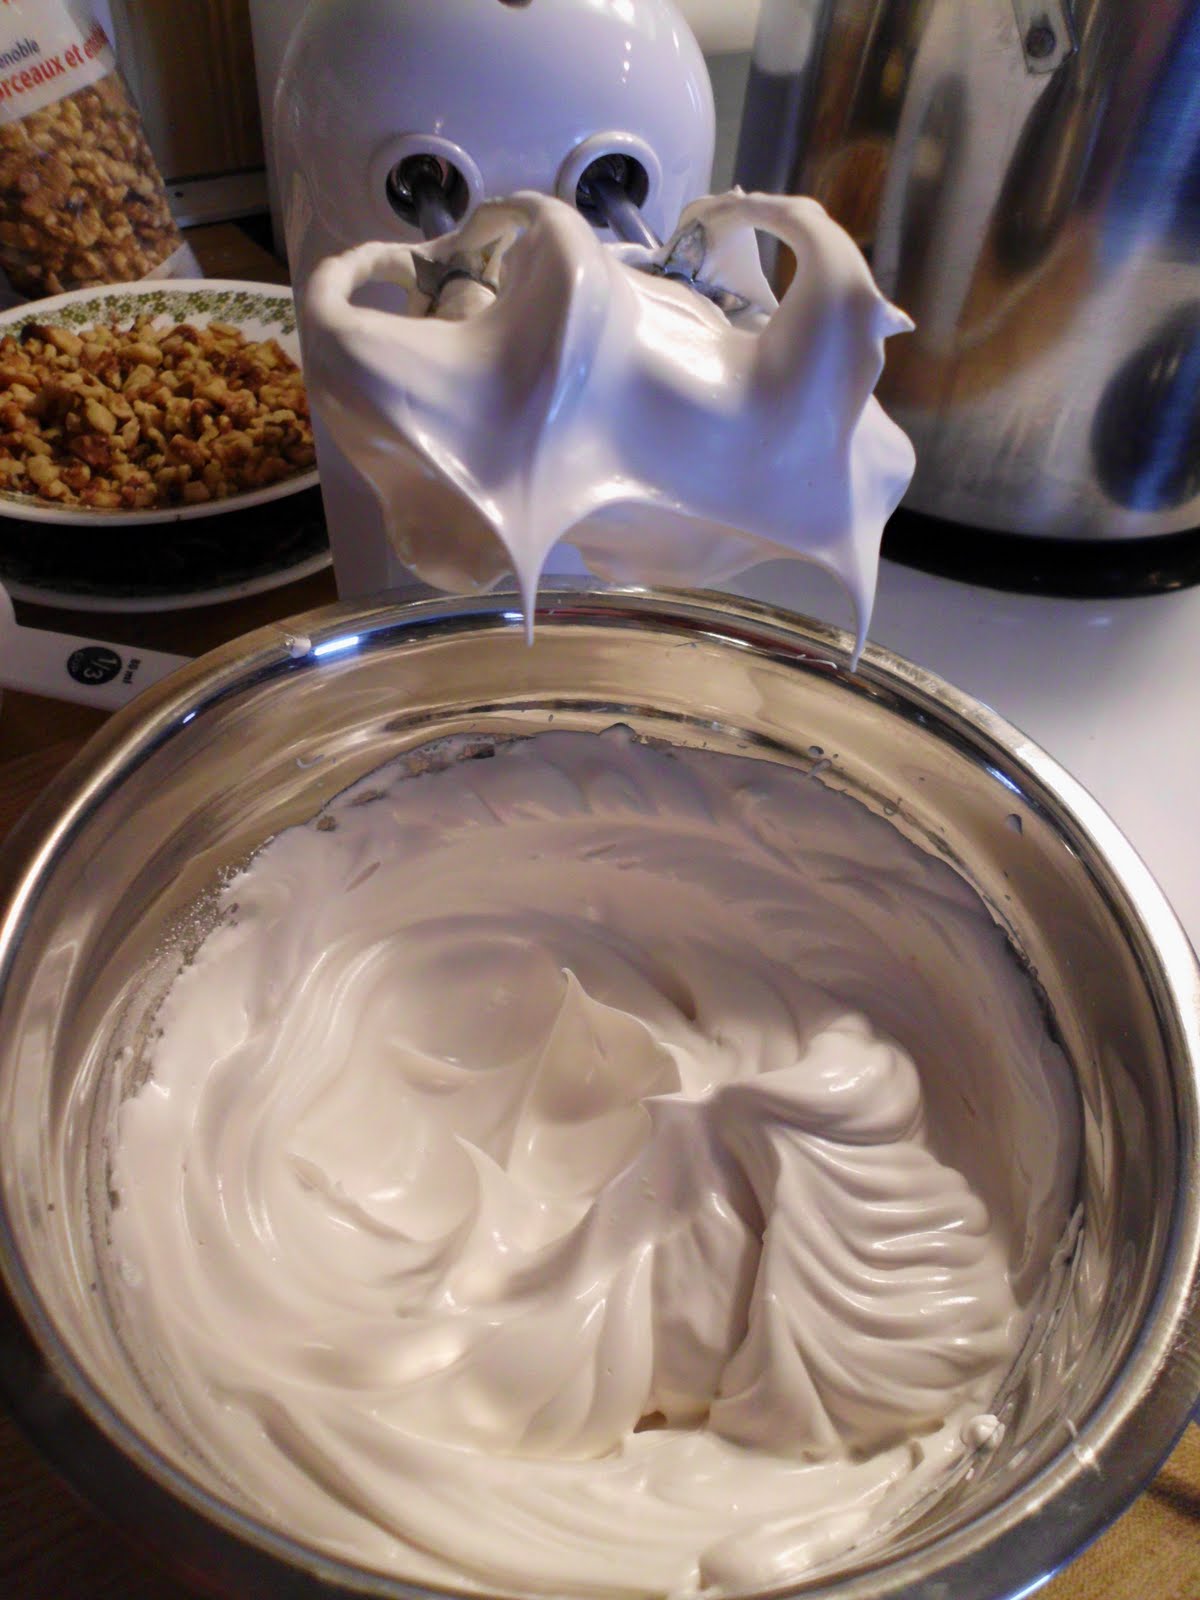
I love Meringue, I kind of wish I had just make meringue kiss cookies like my mom makes instead of putting it in the bread (because it disappears anyway, and you kind of feel like you wasted a bunch of time beating the egg whites into submission
The filling, on top of the meringue, on top of the rolled out dough.

Rolled into a wreath for the 2nd Rising... I took the advise of some other bakers on the Forums and didn't cut into the thing until after the rising
After the 2nd Rising, with the wash on top, and the slices slashed into the dough (use a SHARP knife!)
After baking... I should have put the blinds down, the lighting is horrible... sorry about that

I also made a braided one...

Which was my favourite one. I think it tasted better, and everything stayed cleaner because nothing leaked out.

I think it may have been prettier if I had used more chocolate.


I would like to thank Jamie and Ria for a great Challenge. (and you can follow the links to their blogs if you want)


This is how Ava sleeps while I bake... Well, this is how Ava sleeps most of the time actually. I wish I could get as comfortable as she does


I'm going to try and be back later today, I need to clean off my memory card so I can put more pictures on it, and I might as well post them here before I move them to my external hard drive and completely forget about them.

Enjoy the weather... unless you live around here... Then stay inside, We are in another snow storm... Is spring ever going to start to show up?

Saturday, February 19, 2011

Greek Bread


Today I made Greek Bread
VERY VERY VERY yummy Greek Bread
Want the Recipe? You know you do.... first of all, its from www.cookingbread.com
But I will put it here too... Because I did change a few things to suite us a little better.


3/4 cup Crumpled Feta Cheese (drained and patted dry if it was packed in Brine)
3 1/2 cups All Purpose Flour
1 TBSP sugar
3/4 cup Milk
1/4 cup Water
1 TBSP Olive Oil
1/4 cup Canned sliced Pitted Ripe Olives (drained
1 package (2 1/4 tsp) Active Dry Yeast
1 tsp Salt


In large bowl combine 1 1/2 cups flour, sugar, undissolved yeast, and salt.
Heat milk, water and oil until very warm (not boiling)
Stir into dry ingredients
Stir in Feta, Olives and enough remaining flour to form a soft dough
Knead on a lightly floured surface until smooth and elastic (5 minutes)
Cover, let rest 10 minutes
Roll dough to 12 x 8 inch rectangle
Beginning at Short end, roll up tightly. Pinch seams and ends to seal
Place seam side down in a greased 9 x 5 inch Loaf pan
Cover, let rise in warm draft free place until doubled in size (45 minutes)
Bake 30-45 minutes or until Done in Oven preheated to 375 F
Remove from pan, Cool on wire rack
ENJOY!

Okay... So I didn't change too much, except that I added more cheese and olives... not to the dough, but when you roll it out in a rectangle, I added more olives and cheese then rolled it, cinnamon bun style. I also placed some grated Marble cheese in there too, since we love cheese
In the last 5 minutes of baking, I put a sprinkle of the grated Marble on top of the loaf too
I will definitely be making this one again very very soon!!! I also want to try different fillings instead of just the olives and Feta.
One more thing: I didn't just use the canned black olives, I cut up some of the green olives with the pimentos in it, so there was a lot of color in this loaf.... And I chopped the olives into pieces, not leaving them just sliced, as out of the can.

Crumbling the feta (which I'm not a huge fan of, unless it is cooked, like in this loaf)


Letting it rise in the warmest draft free place that I have... my oven


This is what it looked like straight out of the oven (it was literally straight out of the oven in this photo)


I could hardly wait to cut into this bread and try a piece. Doesn't it look Delicious? You should go make a loaf for yourself, its pretty easy thing to make! And it got me a "you are AMAZING!!!" and a giant smooch from the Boyfriend.


I also made Butternut Squash soup and baked a butternut Squash.... Tomorrow im gonna try my hand at the Acorn Squash and maybe takle the beets that I bought also... Who knows... Talk to you soon!

Sunday, February 13, 2011

Pull Apart Bread

Yesterday, I woke up in a very Martha Stewart mood... I was cooking, cleaning, and baking... AND watching TV online (we hooked the computer up to the TV, so instead of watching everything on my little laptop screen, I can see from far away again)
I might've had a little help in the cooking/baking/cleaning too.... This is our little Dog.... Isn't he sweet??? and isn't my floor dirty? This pic is from the cleaning part of the morning, when we were moving furniture and sweeping dust out from under things... Its much better now!

I found a recipe for Pull Apart Cheesy Herb Bread.... But since I didn't have any fresh herbs, I changed the filling and made them Pull Apart Garlic Tomato Cheesy Bread.
It was really simple, And I might make some more today, Taking into account what I learned on this loaf. I also forgot to take a picture of it out of the oven before we ate the whole thing (It was that good!). So all you get was the before photos (sorry).

Ok, so getting on with it. I didn't add many "making of" photos since there are a ton of them at the blog where I found this recipe. And you should go check it out, because I have a list of things on her site that I want to try - This was at the top of my list.
A Little Bit of Everything - Pull Apart Cheesy Herb Bread

Although it seems a bit monotonous, since i haven't changed this recipe at all (apart from my filling) I will add it here. But all the credit should go to Green Girl at A Little Bit of Everything, and not me.
Ingredients

4 cups all-purpose flour
1 package dry yeast
1 1/2 cup lukewarm milk/water
4-6 oz cheddar cheese
fresh dill and parsley
1 egg for brushing

Cream yeast with a little of the milk. Once yeast has dissolved, add in rest of milk and mix to combine.
Slowly add flour, mixing until the dough comes clean from the side of the bowl (you might not need all 4 cups... mine only took 3 1/2 cups before it was a good dough.)
Place in a greased bowl and cover. Let rise at room temperature until doubled in size.
Once risen, divide into 10-12 balls and flatten them. (I got 12 balls, and i think next time, I will leave some out, because it was so packed that I couldn't "pull apart" my pull apart bread)
To make the filling shred the cheese and chop the herbs. Mix them. Place about 1-2 tbsp of the cheese-herb mixture on the flatten dough.
(My filling, i chopped a tomato, took out the middle, dried with paper towel, and then diced it in small pieces. I added a few cloves of minced garlic (I have this really cool garlic mincer that I got for Christmas a few years ago that works amazing). and some Parmesan cheese (not the real stuff... good ol' Kraft). I also had some grated cheese... Marble, because that is what I had in the fridge.

Above= my filling
Below = my filling on my flattened dough ball

Seal the pocket with a fork or with your fingers and place it in a greased loaf pan. Do the same with the rest. Leave again to rest at room temperature. When risen brush with egg wash and bake in preheated oven, at 375F, for about 35-40 minutes.
(I completely forgot to do the egg wash thing... oops)

I REALLY wish I had a competed picture for you too... because It was really pretty!!! And the combination of tomato and garlic and cheese really went well together! Would definitely be good for a pasta night. I also thing this would be great for a garlic bread, instead of just putting garlic butter on bread and serving it (garlic bread a la my mom)

Anyway, I definitely recommend trying this! It was delicious, and I think I am going to go make some more dough so We can have this for dinner again tonight.
Take Care!